Youtube Tutorials

Last updated on: Published by: fantasymetamorfaces 0


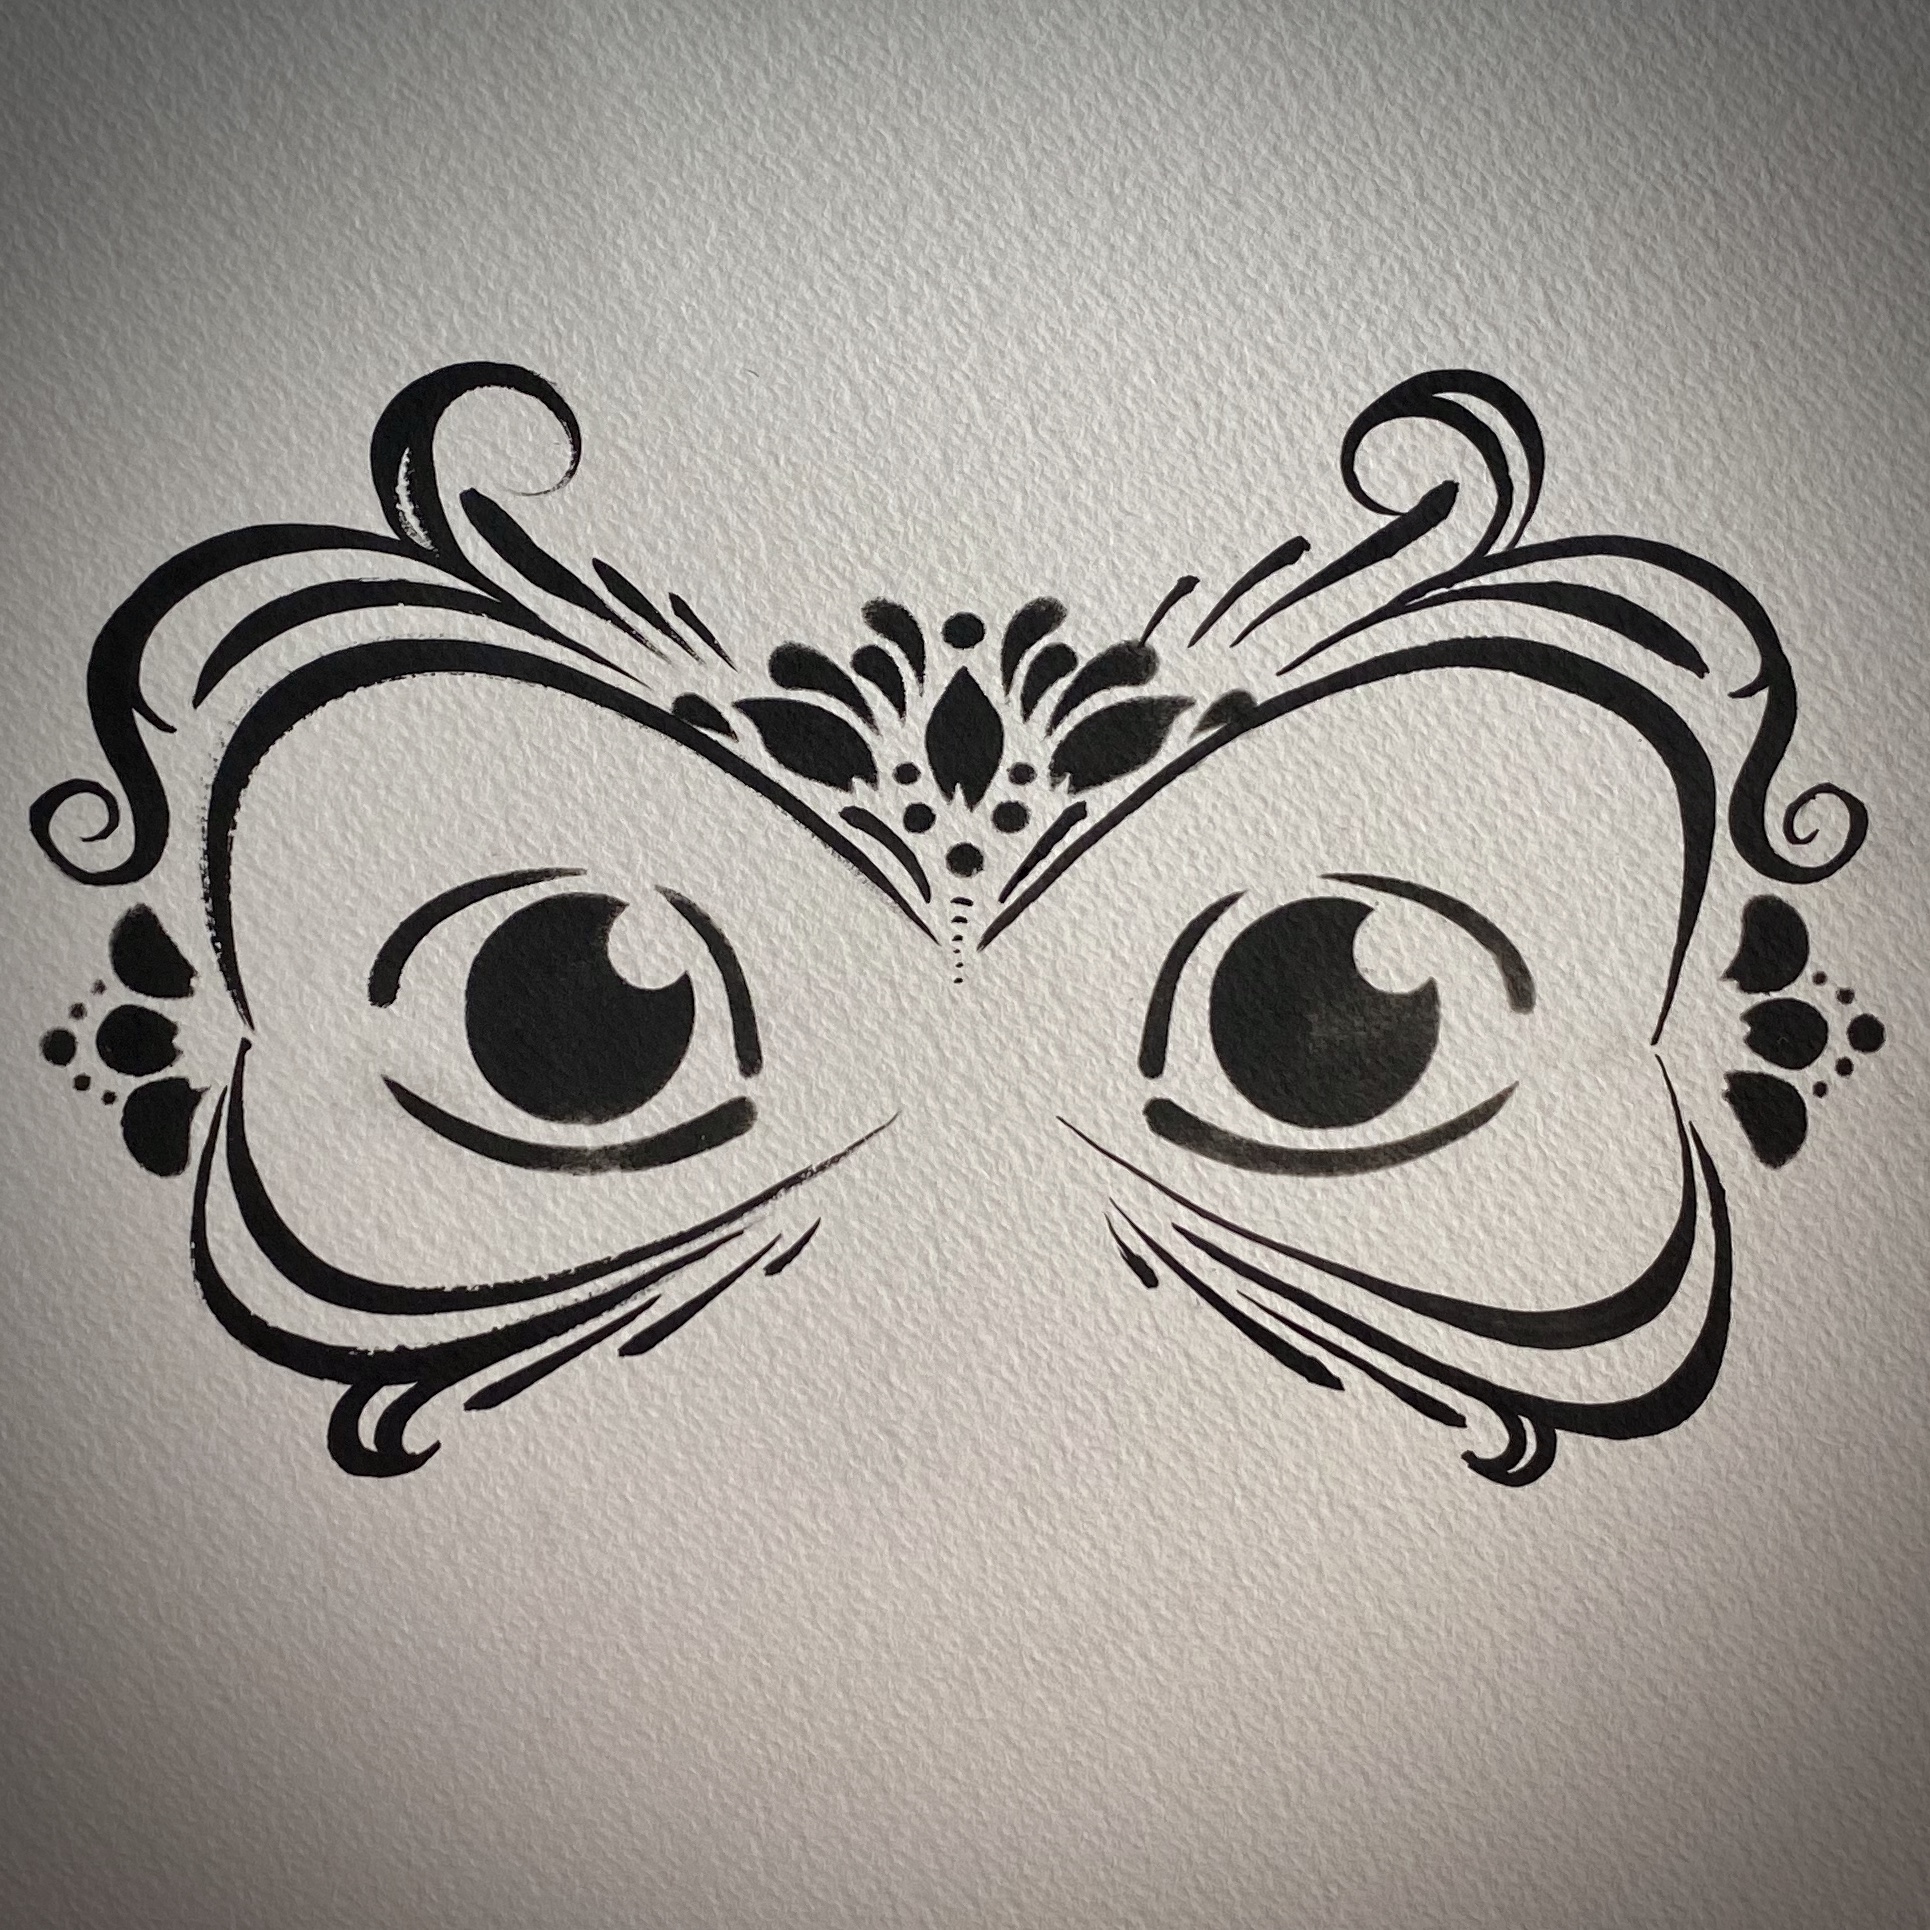
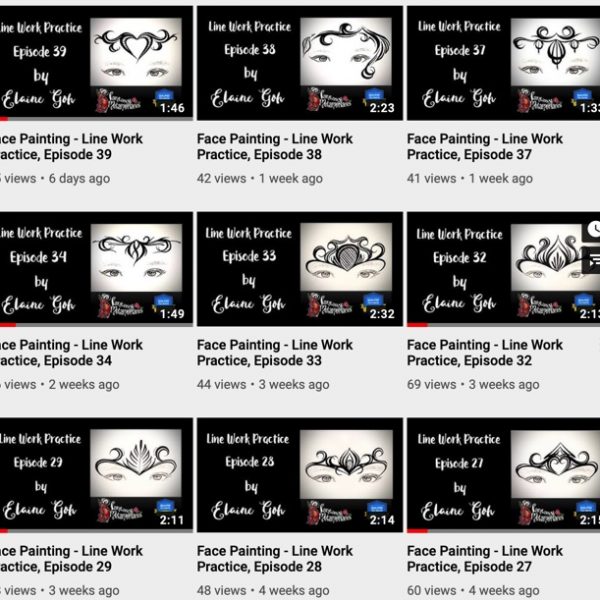
We have ventured into creating a series of line work tutorials available to the public.  Whether you are new to face painting, an amateur or professional artist, one can always continue to learn from others. As artist, we continue to inspire each other learn new techniques and grow our skills.

In fact, it was my quest for improving my line work technique that inspired me to create this series for line work practice for face painters.  Through this journey, I have not only improved my skills, but also learnt other useful skills like video editing, and how to publish videos on Youtube.

We are regularly creating new content.  To keep up with our tutorials, please ensure you subscribe to our Youtube channel HERE and give our videos a 👍.
Face Painters – key considerations when hiring

Last updated on: Published by: fantasymetamorfaces 0
Your child’s birthday is coming up.
You start thinking about ideas for the party.
You decide on hiring a face painter.
After searching for face painters online,
your search result comes up with tonnes of face painters.
But which one to pick?
Consider the following …

EXPERIENCE

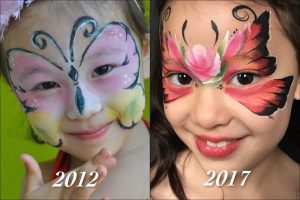
It “pays” to do your research.  Not all face painters are equal.  Each have their own styles, level of expertise and offer different services.  

Whomever you choose to hire, determine what is most important to you.  Is it the entertainment, the face painting or the balloon twisting?  Some may be great at entertainment, but lack at face painting and balloons, or the combination.  Have a look at the quality of their designs.  

The more experienced the artist, the more they usually charge.  A skilled artist is a combination of talent, time and money.  To be great at their craft, the artist usually would have invested many years perfecting their skills. 

Some artists may have also spent a lot of money attending courses to improve and expand their  designs.  An experienced artist should also be able to work faster than an amateur. 

HYGIENE

Similar to makeup products, face paints also consists of antibacterial agents to reduce the risk of bacterial contamination.  Every artist may conduct different but similar hygiene practices.  

Here are some hygiene practices artists may adopt:

  • refusing to paint sick or contagious clients, open sores, etc.  It is important for clients to be forthcoming with the artist as well, so that we do not put ourselves and other clients at risk.
  • one sponge per face
  • using antibacterial brush bath, cleaning alcohol or plain water for cleaning brushes in between clients
  • regular brush water change
  • using disposable cotton swabs or lip applicators for lips
  • maintaining a clean setup

PRODUCT QUALITY

Most professional face painters only use professional grade face paints and cosmetic glitters.  This is important because cheaper, lower quality paints have a higher risk of triggering allergic reactions.  Cosmetic glitters are safe to be used on the face.  However, non-cosmetic glitter should never be used on the face, as it has the potential to cause serious injury to the eyes.

PRICE

The more experienced the face painter, the more they usually charge.  A skilled face painter is a product of combined talent, time, effort and money.  To be great at their craft, the artist usually would have invested many years perfecting their skills.  Some artists may have also spent a lot of money attending courses to improve and expand their  designs.  An experienced artist should also be able to paint faster than a less experienced one.  

COSTUMES AND CHARACTERS

There are businesses that do character entertainment and offer other services, such as face painting and balloon twisting.  However, there are also many businesses, whose artists do not dress in costume, but wear colourful, fun outfits, or they may come professionally dressed.  

LOCATION

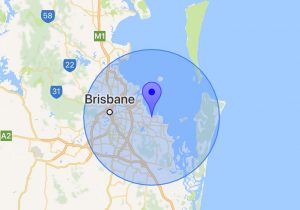
Choosing a face painter that lives locally may help you save money.  Travel time, fuel costs, tolls and parking fees are all factors that may be added to the hire cost.  

SERVICES

Face Painting @ Zone Fresh Windsor 2020

Some face painters only provide face painting.  However, others may provide combinations  of services which may include, but are not limited to balloon twisting, games, activities, magic shows, and jumping castles. 

Expect to pay more if you would like to include extra services.  Also, the more services you require, affects the number of kids serviced per hour. 

For example, on average, a face painter can paint between 10-12 kids an hour depending on size and complexity of designs.  If you also want to include balloon twisting, then expect to pay for twice as much time, or half as many kids (ie. 5-6 kids per hour for face painting and balloons).

Step-By-Step Line Work Mask Face Painting

Last updated on: Published by: fantasymetamorfaces 0

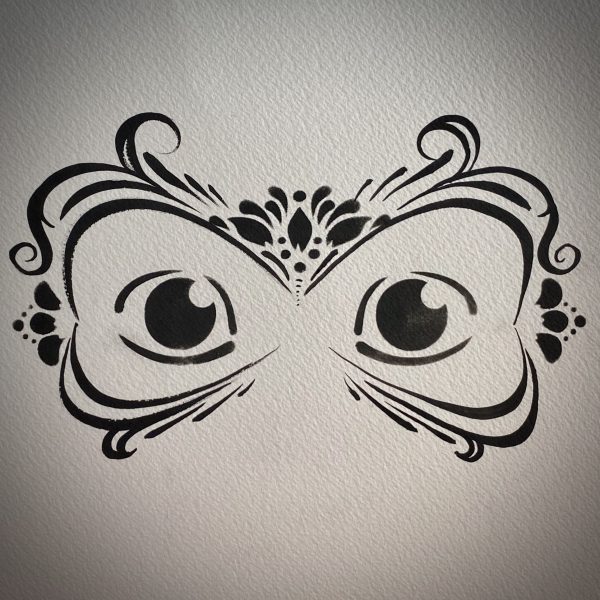
In face painting, a mask generally relates to designs that envelopes the eye region.  There are many ways to paint a mask, with designs limited only to your imagination.  Some of the more common ones that come to mind are masquerade, super heroes, monsters, animals and masks decorated with line work.

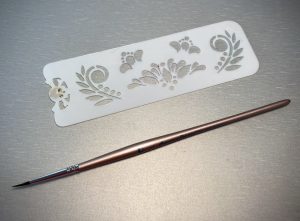
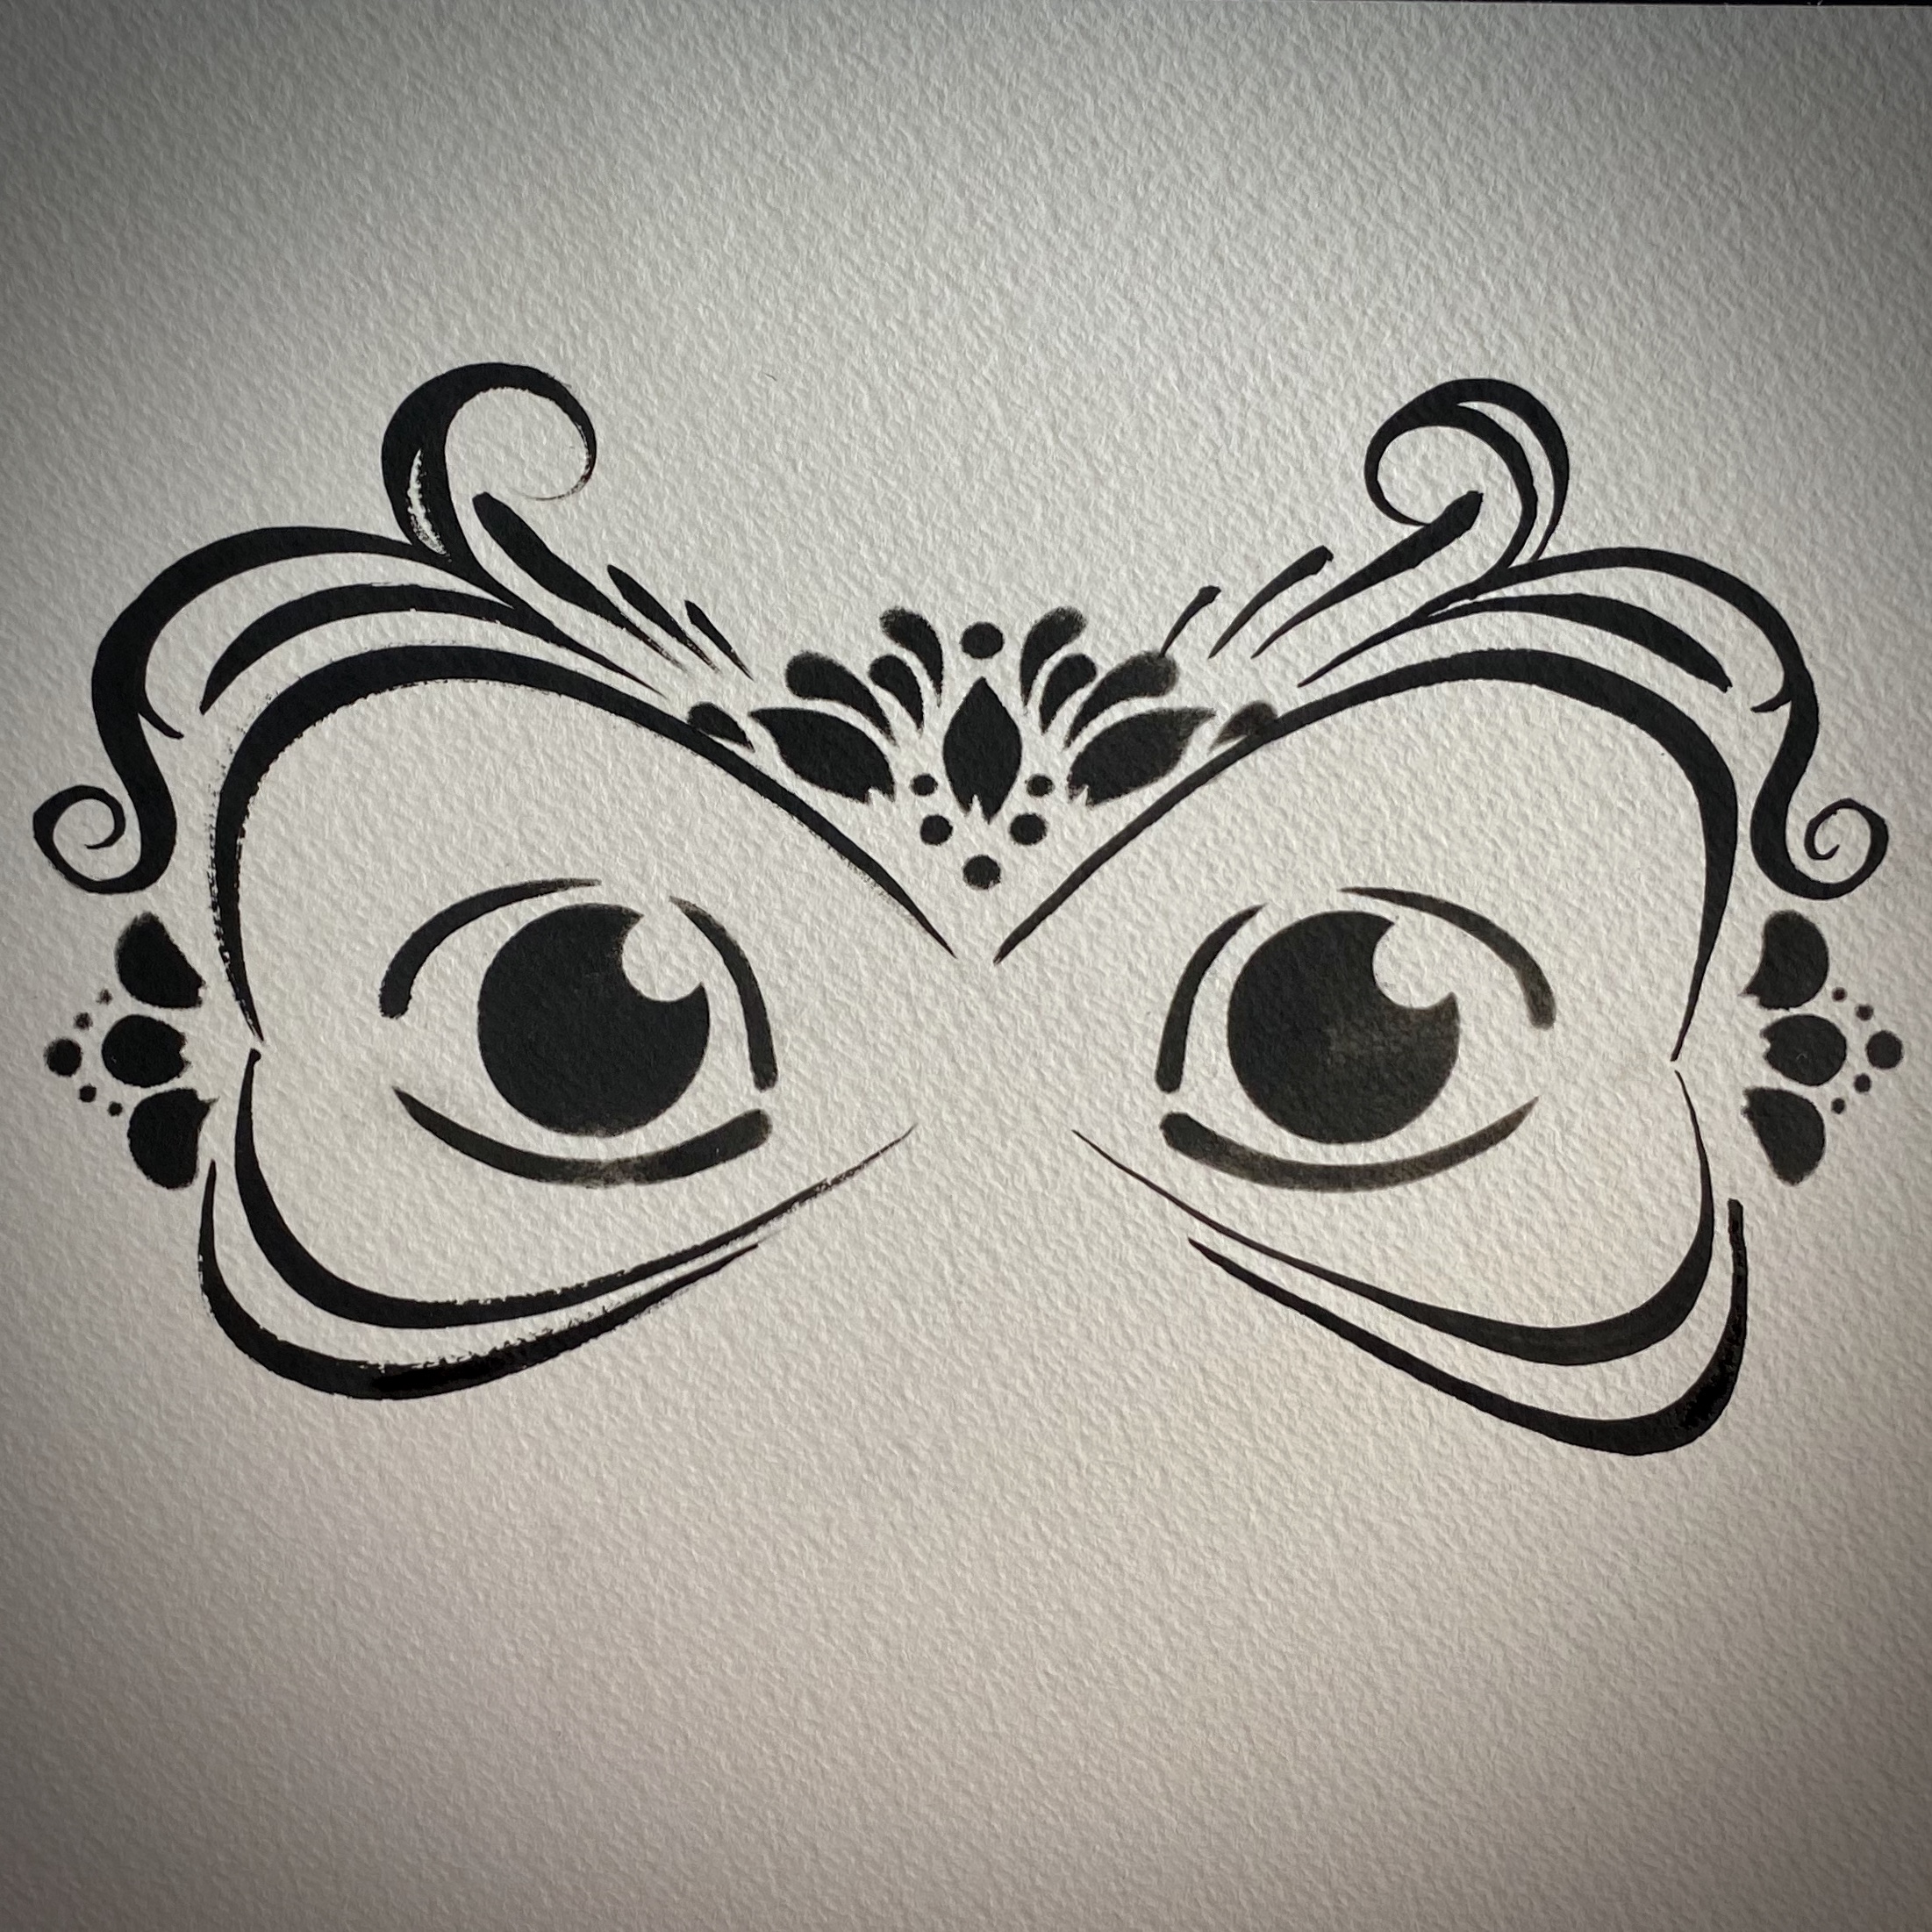
Below, I have created a simple face painting mask design using only line work.  All you need is a brush, paint, stencil and a sponge or finger dauber.  If you prefer, you can leave out the stencil altogether, and create the mask with only line work.

To change things up a bit, you can paint your line work with a different colour, combination of colours, or even using a double-dipped technique.  Other possibilities include using different stencils, one-stroke paints underneath your line work, gem clusters, liquid bling and chunky glitter.  Whatever you heart desires, feel free to experiment.  When you try new things, you expand your artistic abilities.


Items used:

Brush – #1 American painter brush 4000 round brush

Stencil – Glitter & Ghouls – Flourish Elements #5


Steps:

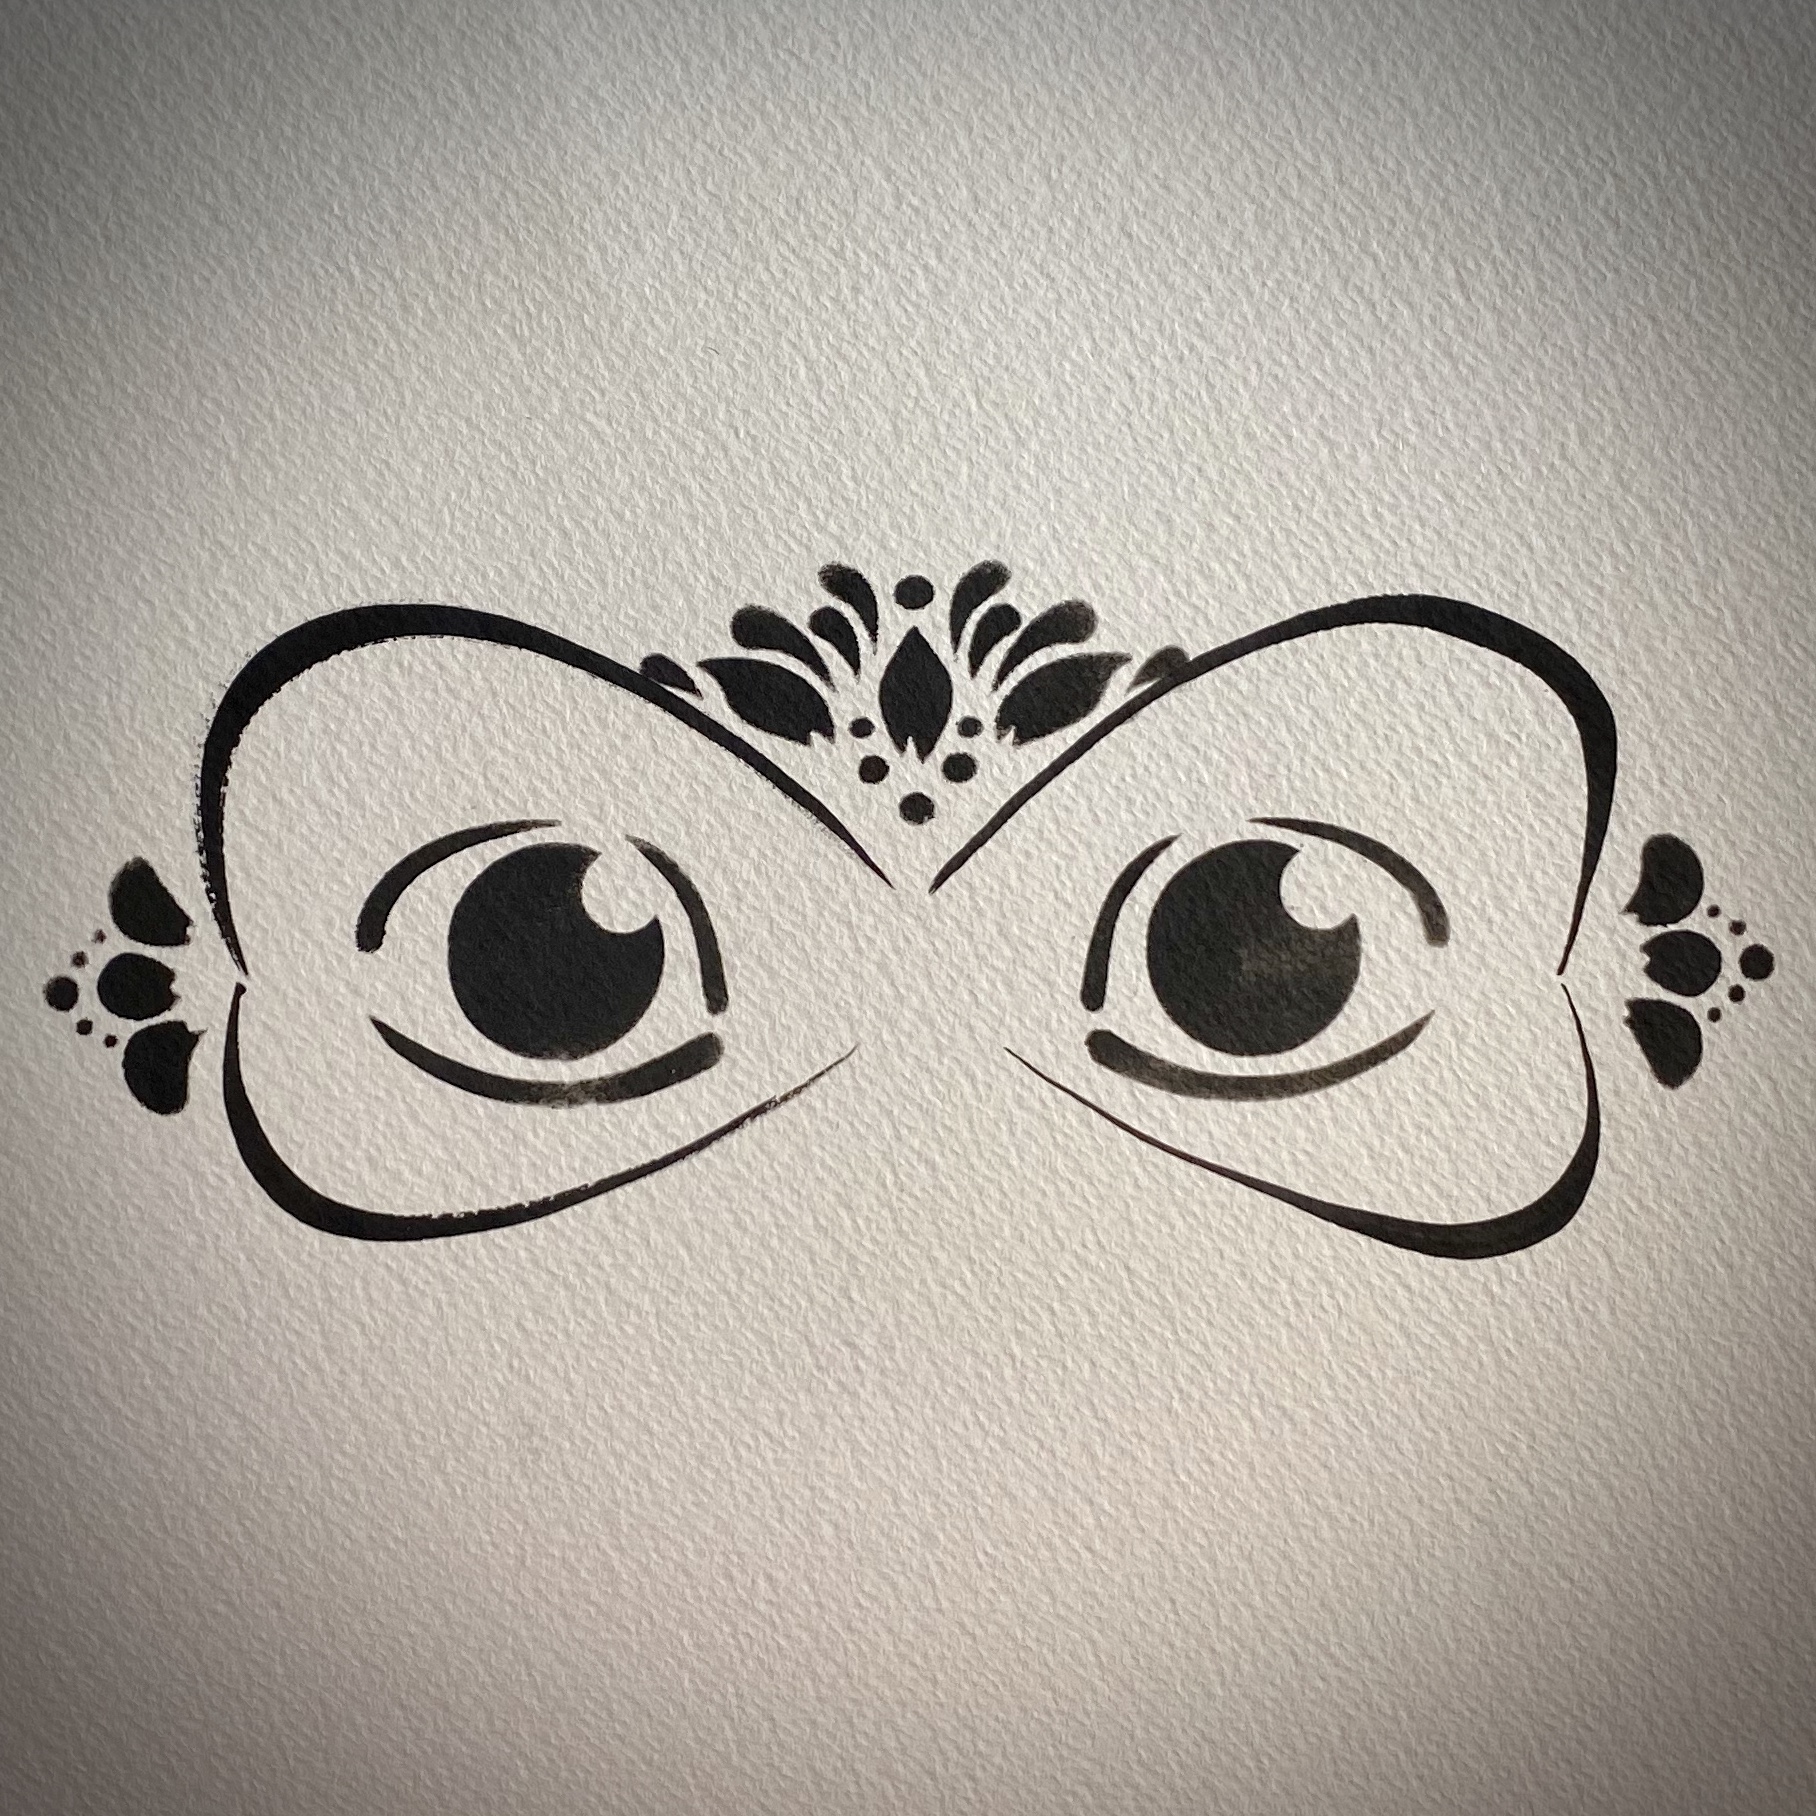
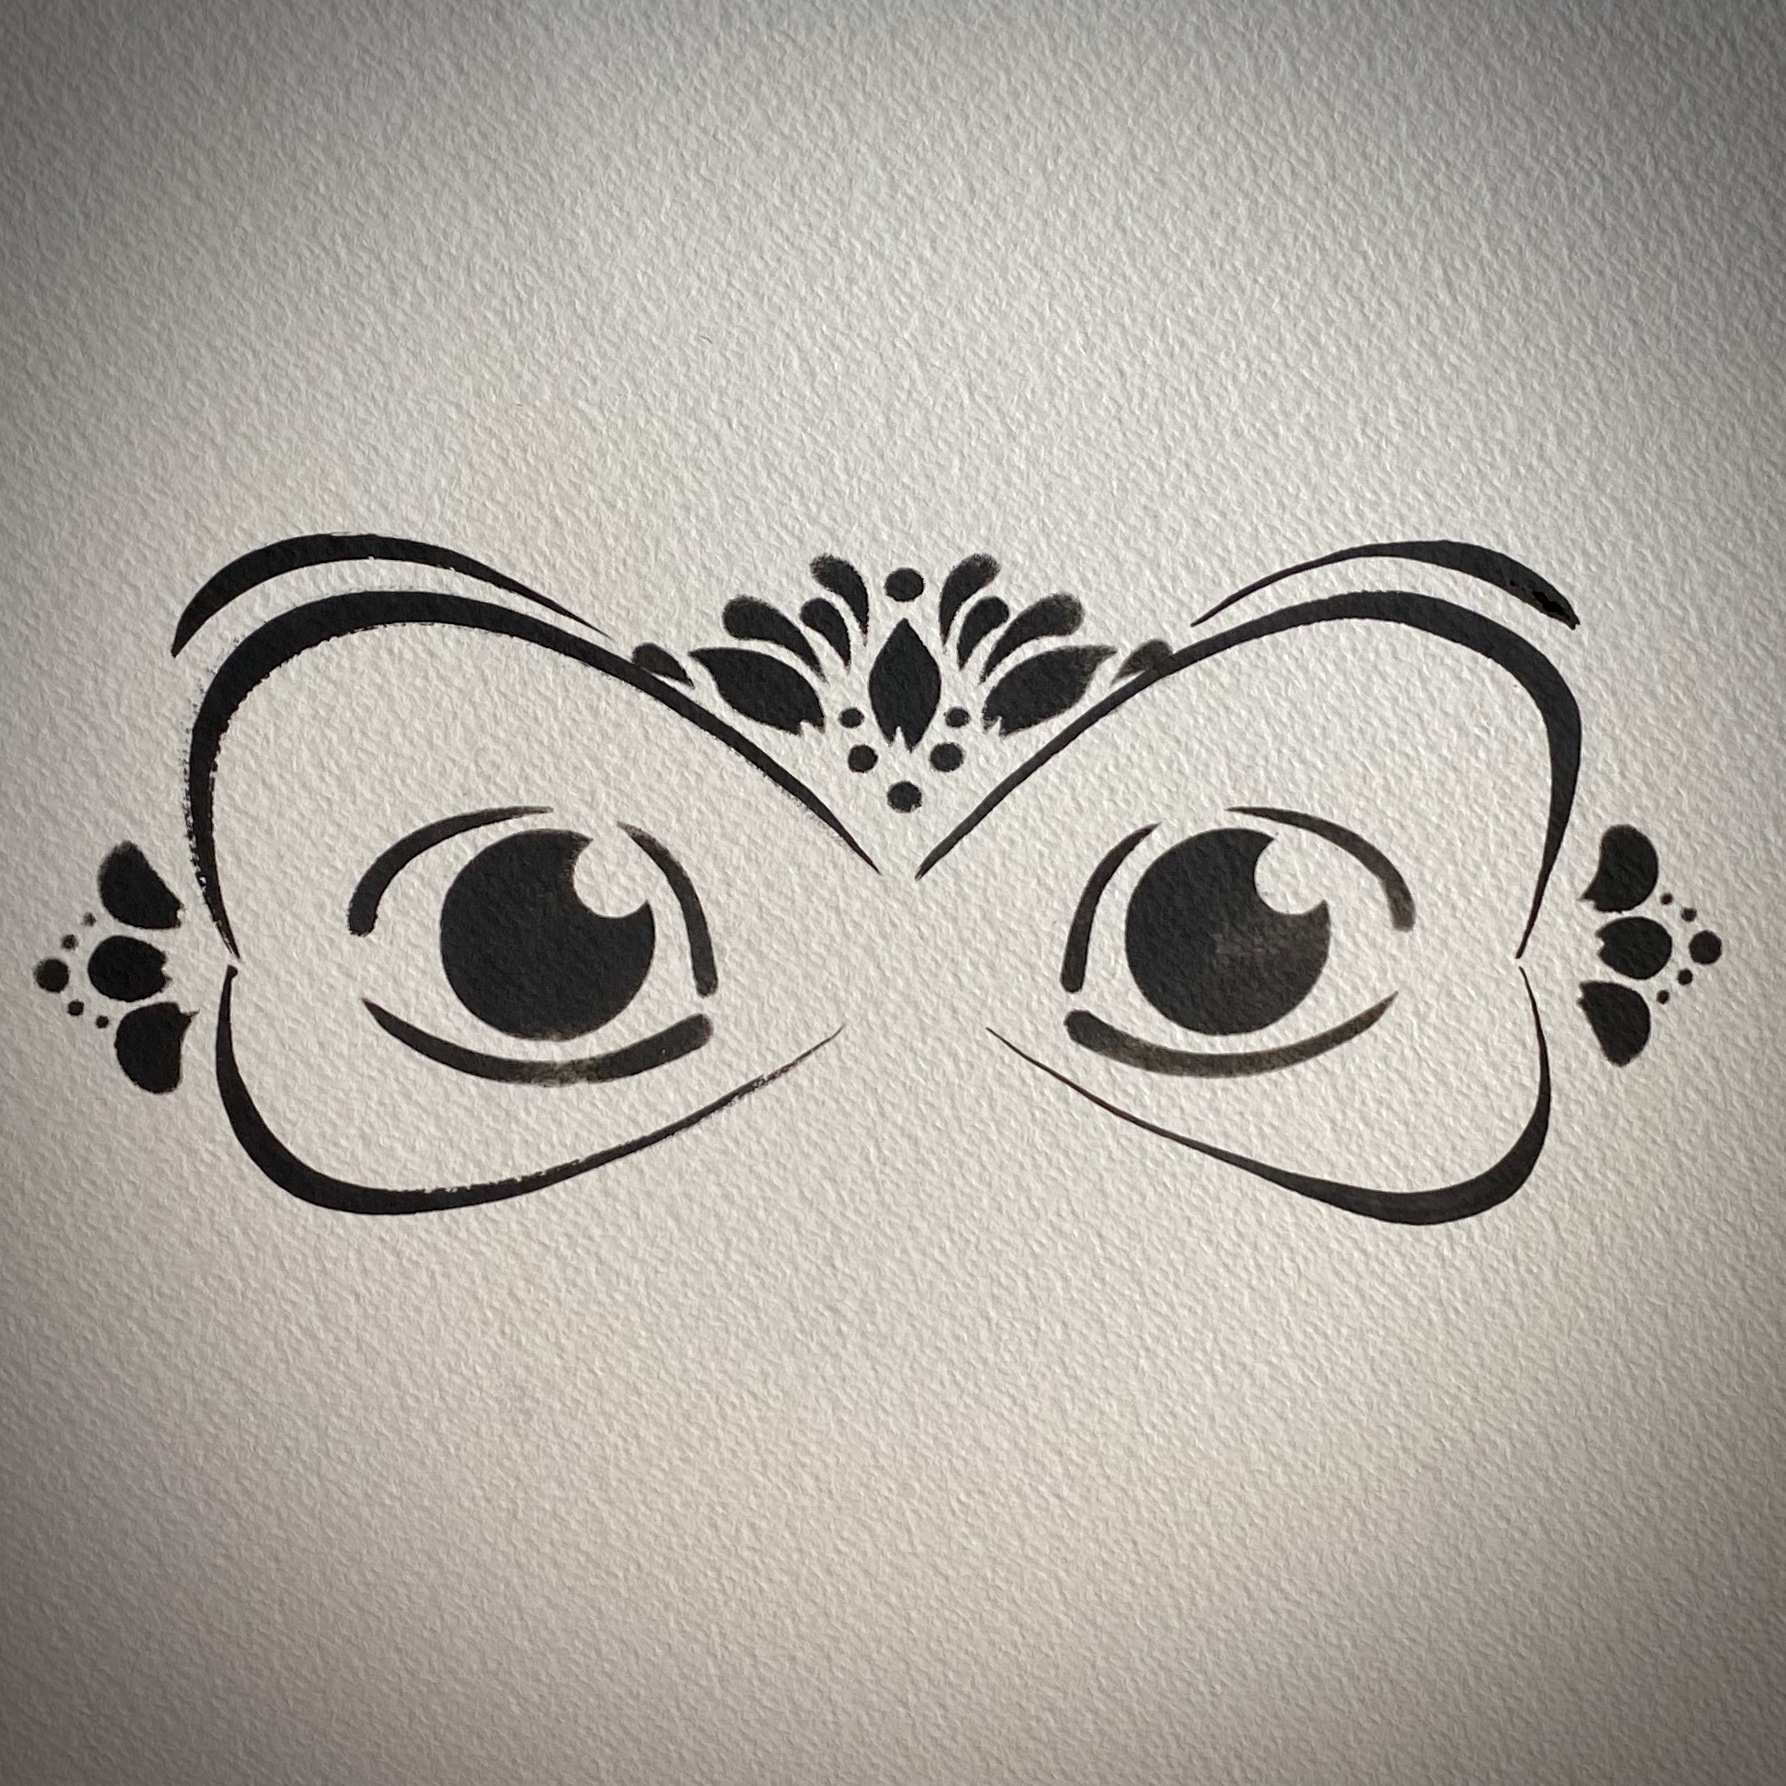
The first step is to border or outline the internal shape of your mask.  If you intend to use a stencil to embellish your design, I suggest doing this as your next step, as it will help to keep your lines symmetrical.

For each line that is create on one side, make sure to do the same on the other side,  I recommend completing your top design first, before you start with the bottom, as it will reduce the risk of smudging.


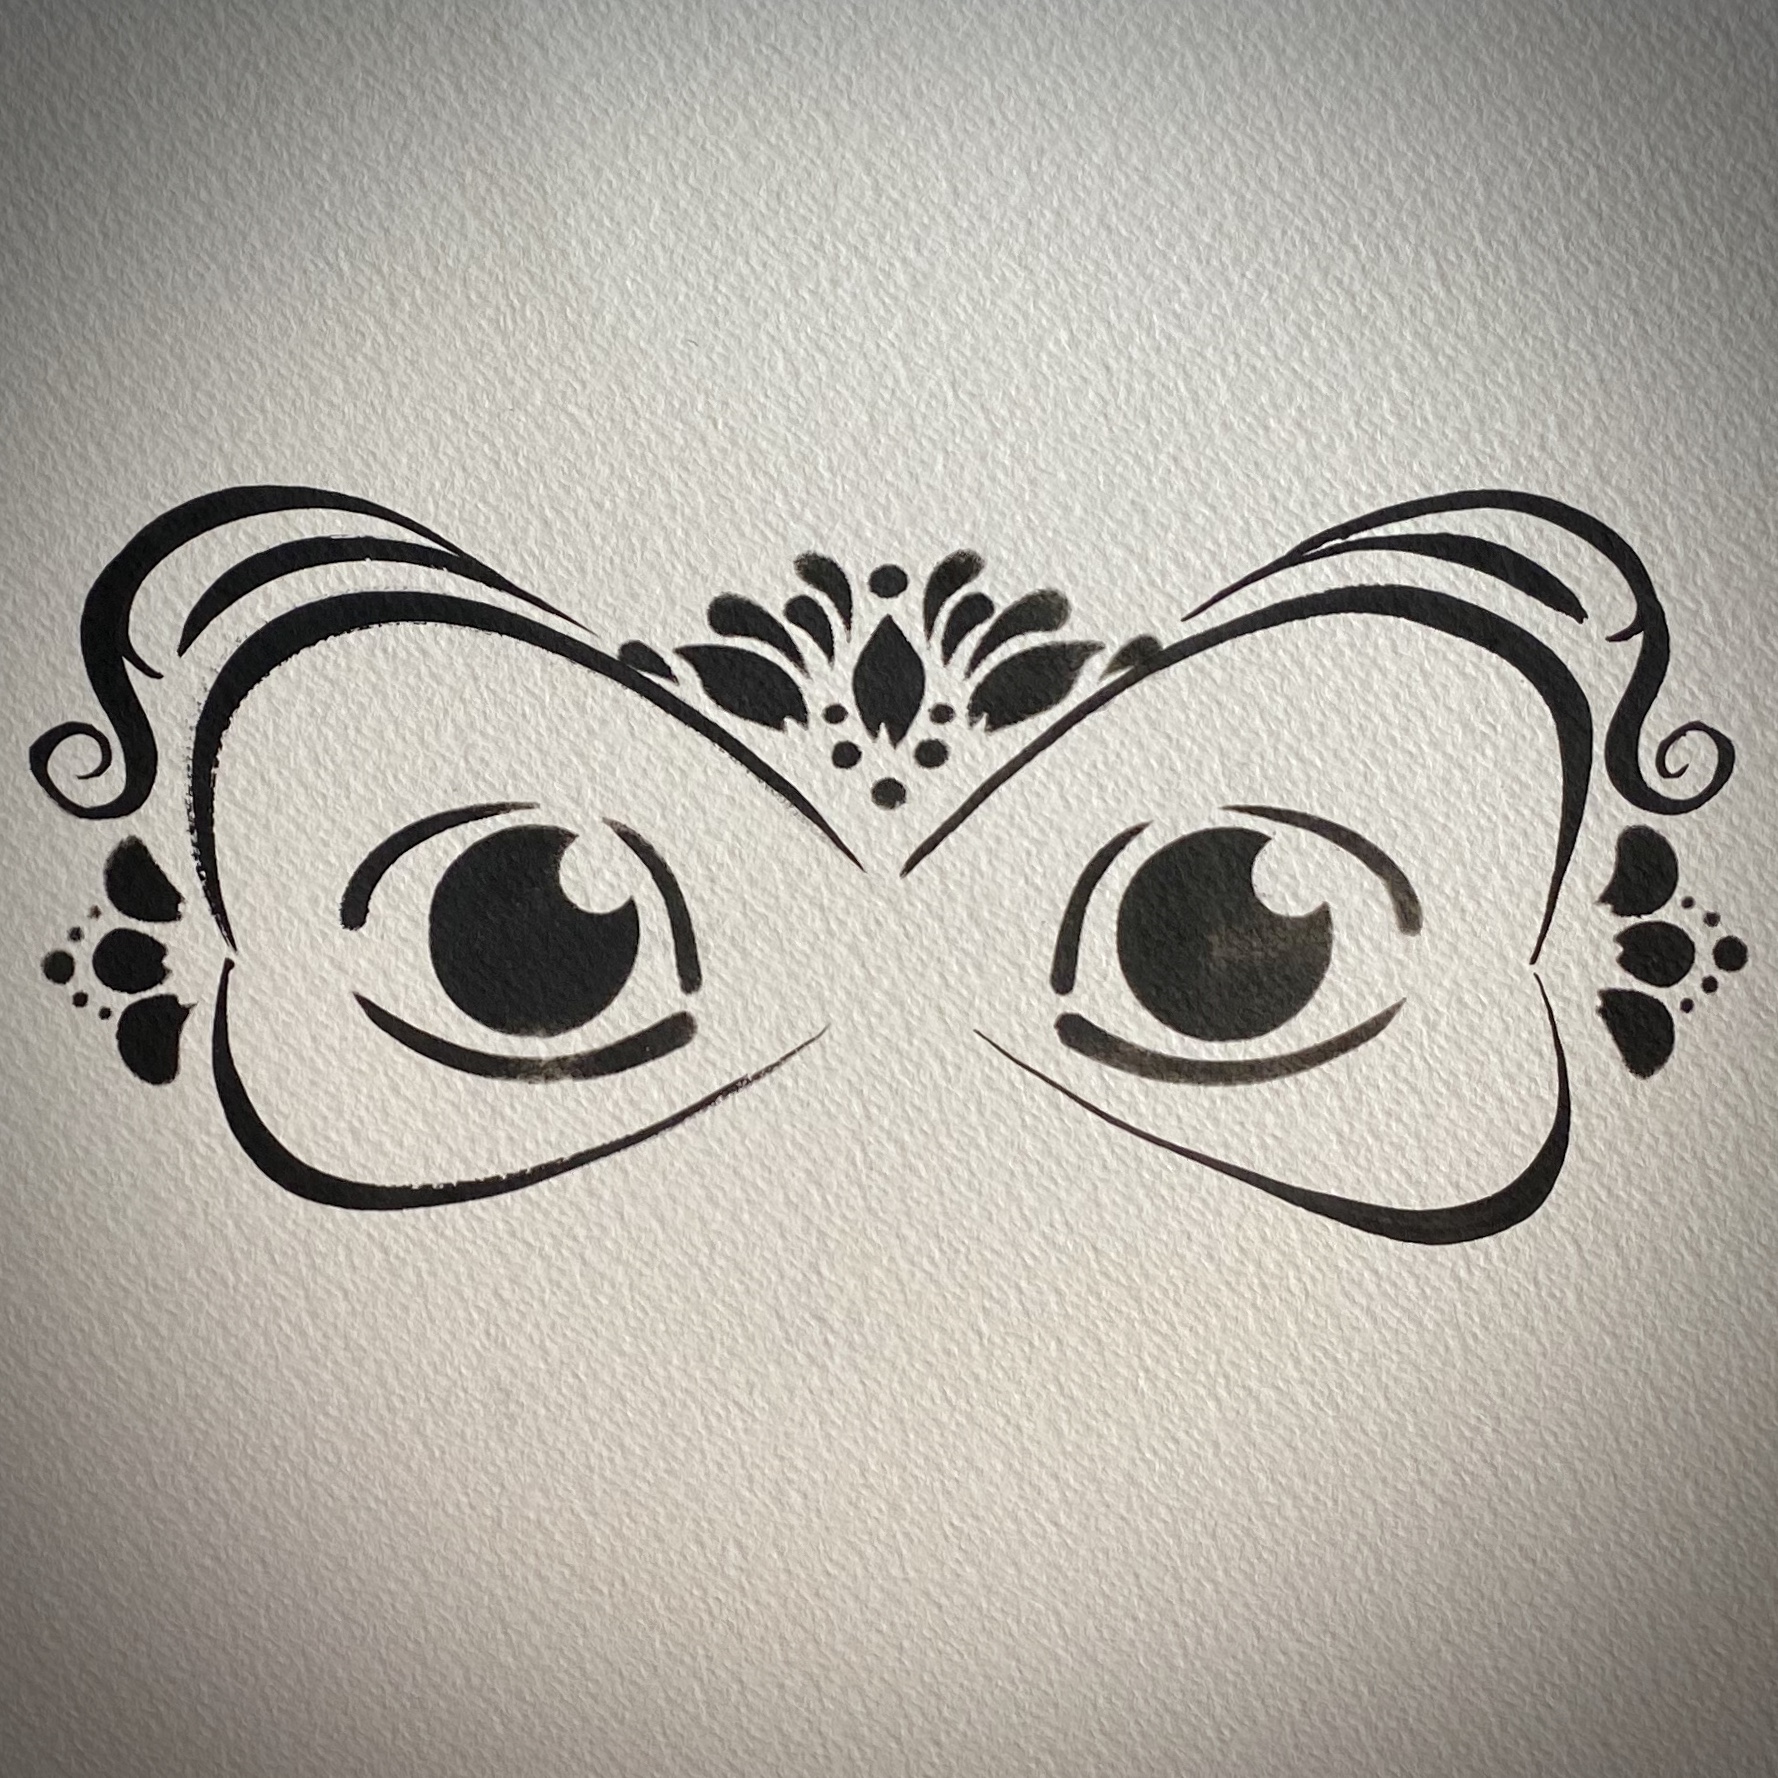
Step 1

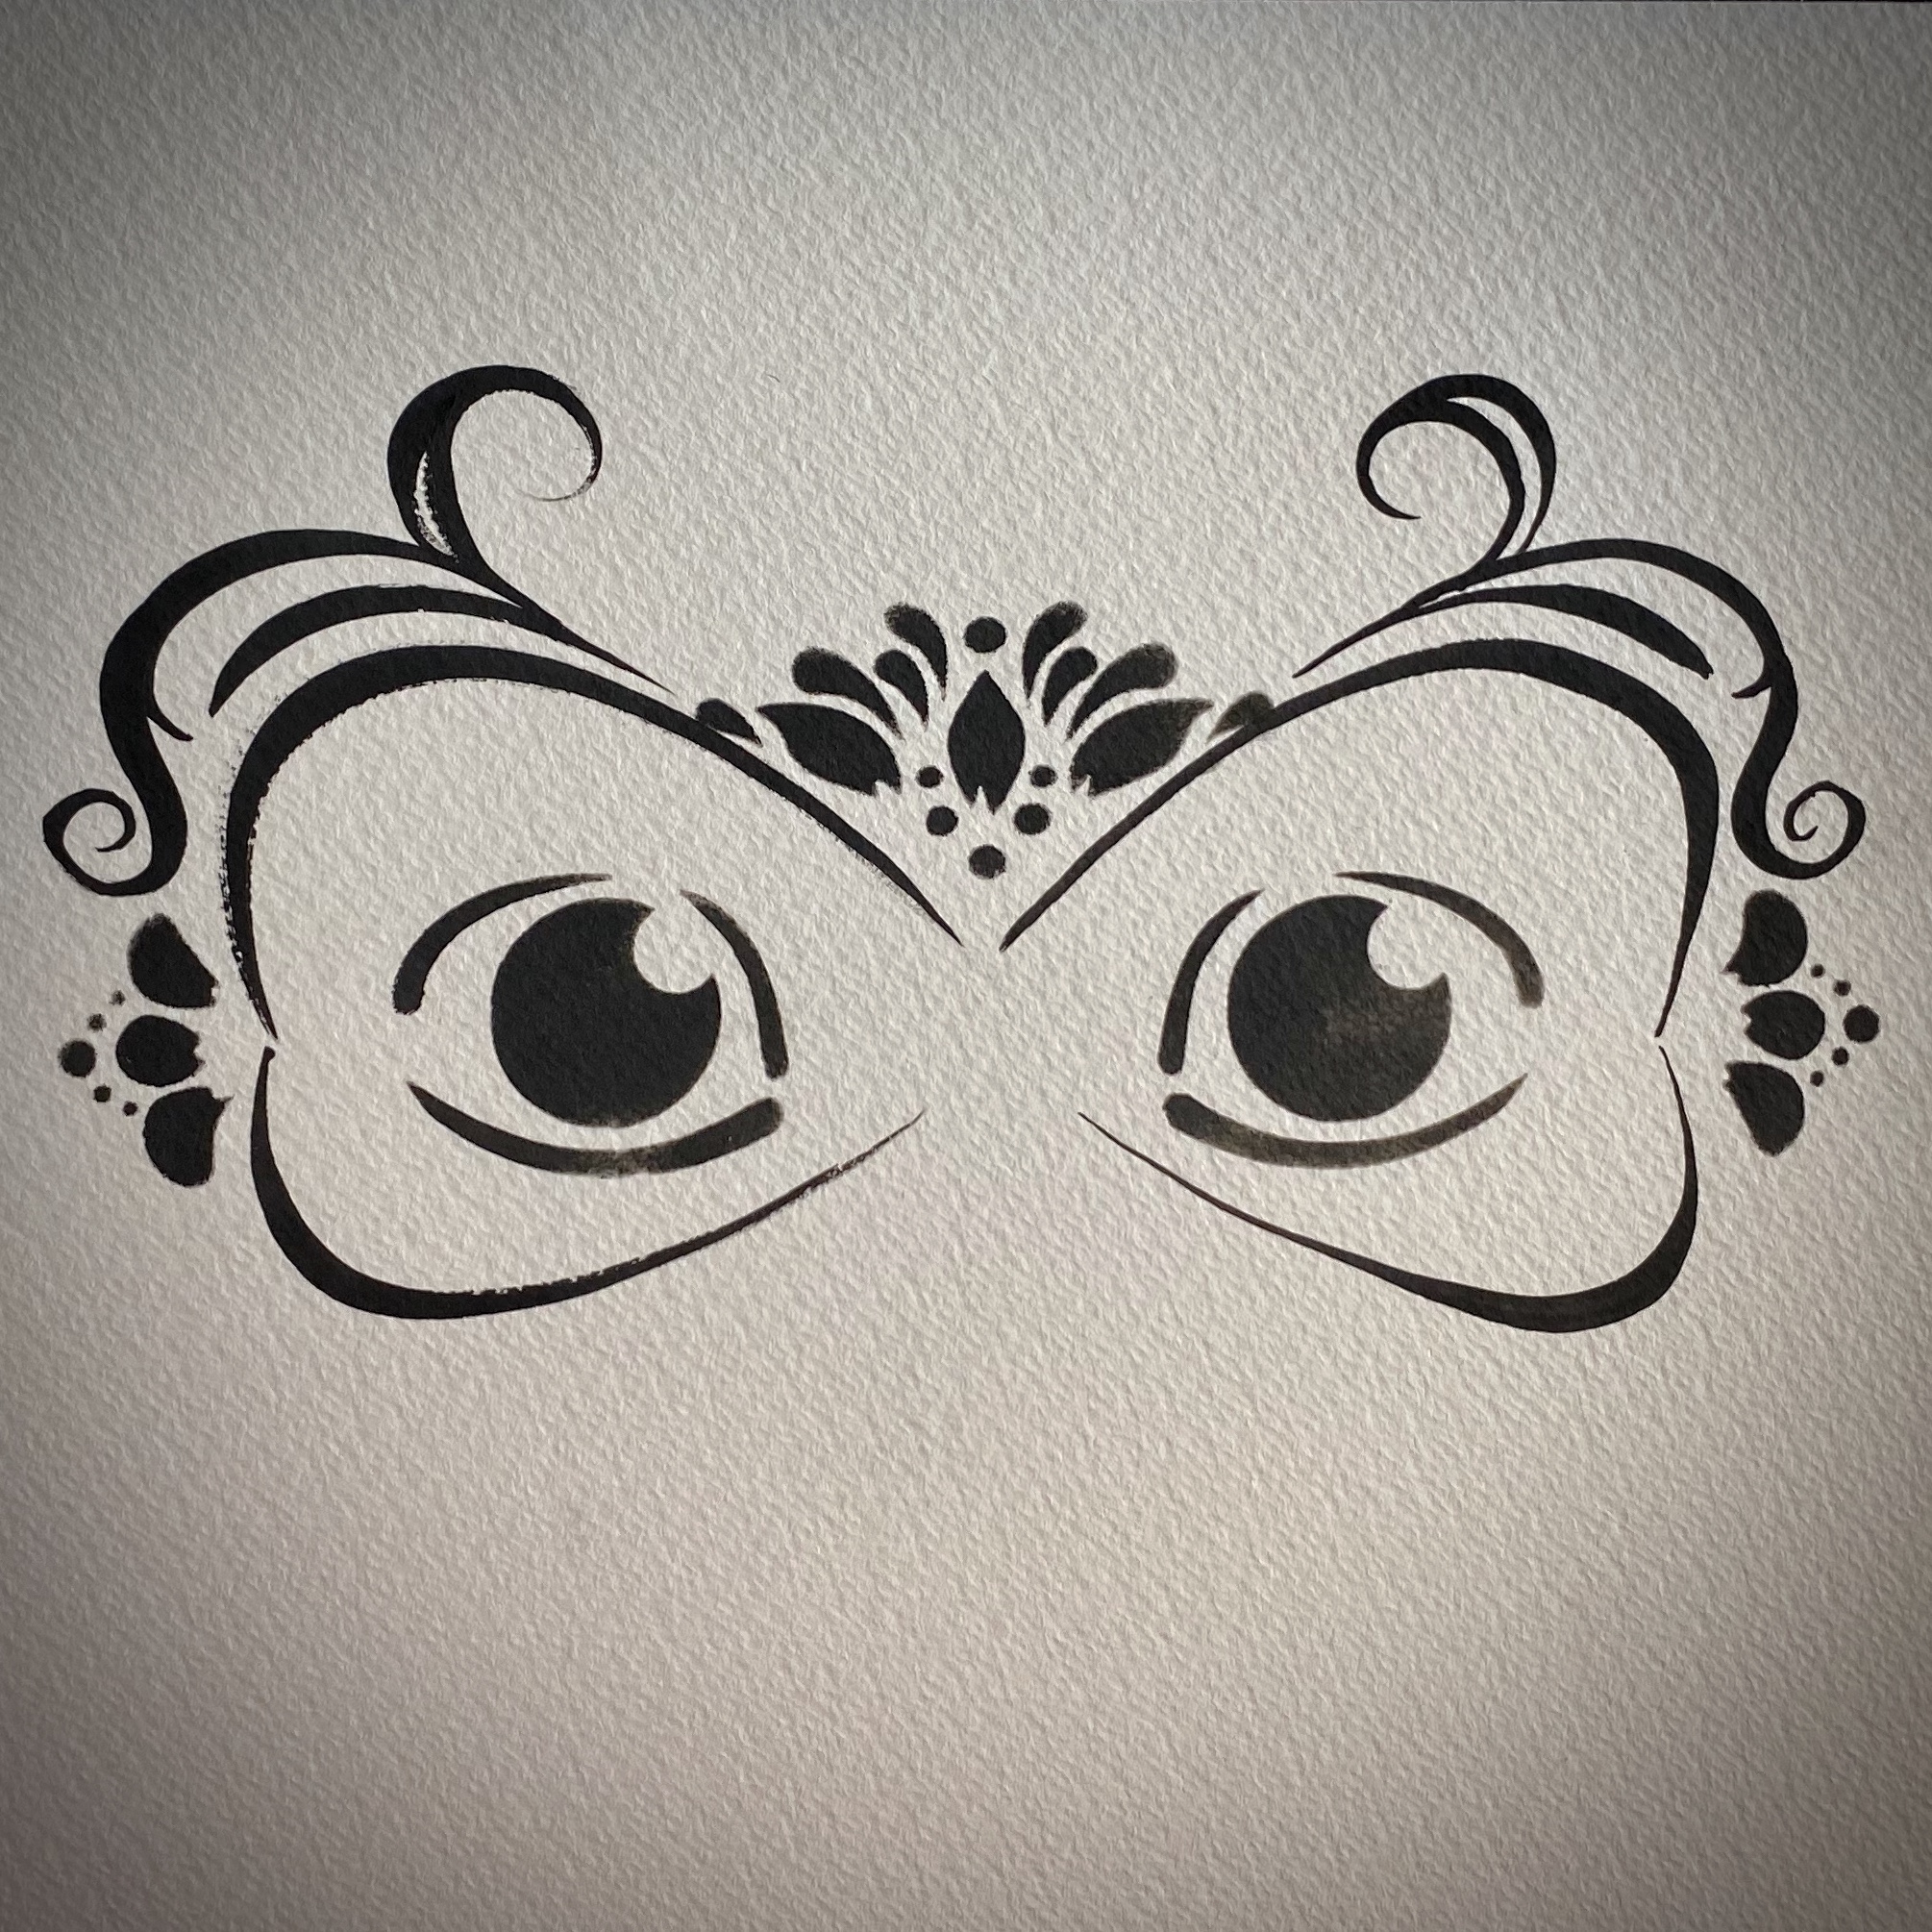
Step 2

Step 3

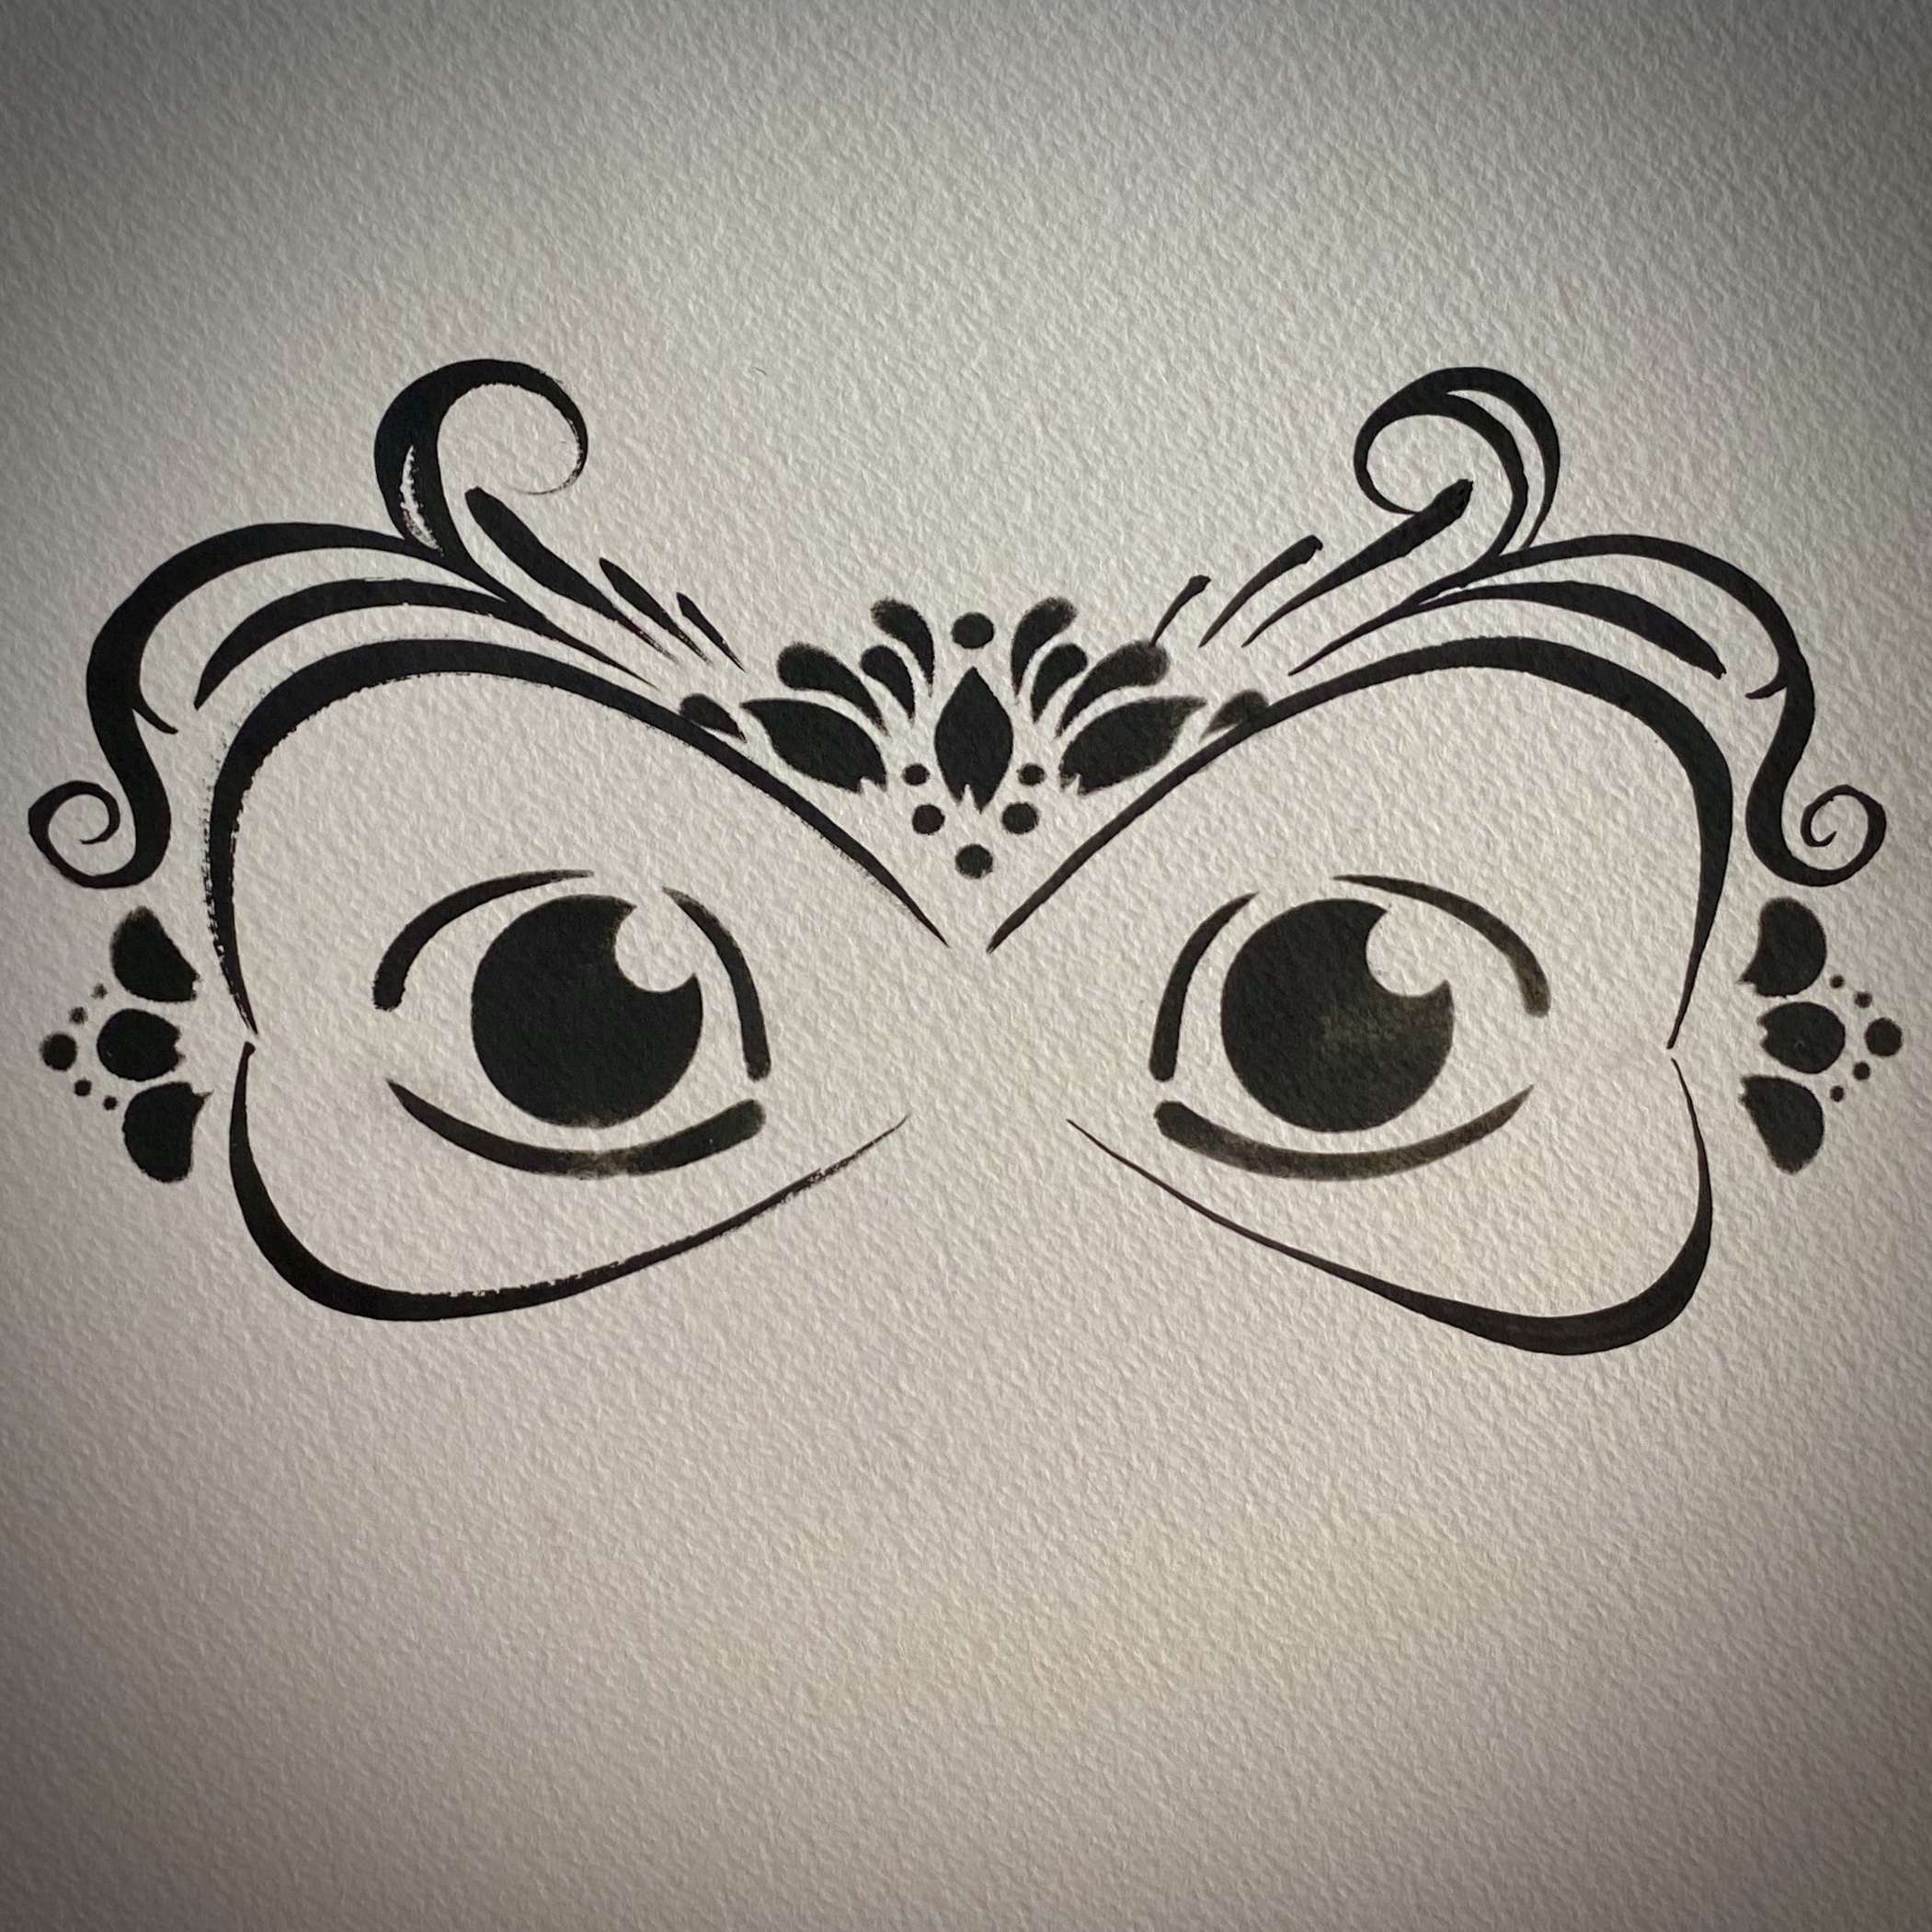
Step 4

Step 5

Step 6

Step 7